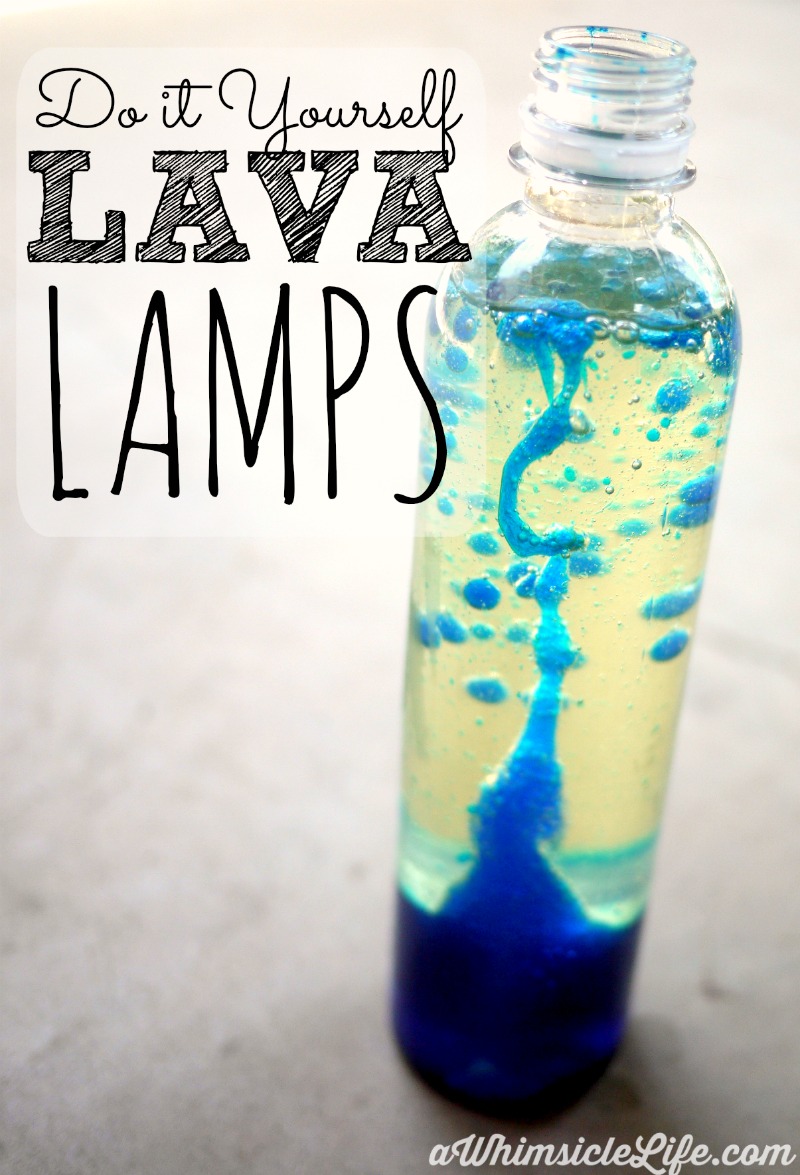
Make Your Own Lava Lamp: A very simple 5-minute science experiment
You need a fun activity that is equally impressive and inexpensive! Yes? This make your own lava lamp is sure to make you and your kids happy! Learn how to make a lava lamp as well as the science behind it.

I loved staring at my dad’s lava lamp when I was a kid. I would anxiously wait for the lamp to heat up and stand mesmerized as the globules floated to the surface and then sank to the bottom.
Little did I know, I could create my own homemade lava lamp with a water bottle and use science!
Being a former teacher, this activity gets extra points for the science element. I’m a nerd that way. Go education! Woo-hoo! I’m a huge fan in putting a bit of science in every activity I do with my kids. We’ve made silly putty out of baby powder, concocted our own edible boba and even mastered a few magic tricks.
This DIY lava lamp requires no heat or electricity. It is a perfect science project and indoor activity for a hot summer day. Or, add it to your holidays for a cool activity that is sure to keep children entertained.
Read: 10 Fun Kids Dollar Store Activities
Lava Lamp Ingredients
- an empty water bottle
- vegetable oil
- water
- food coloring of your choice
- Alka-seltzer tablets
Now that Phoenix temperatures are reaching 109 degrees (ick!), drinking lots of water is very important. I made sure my daughter hydrated sufficiently by tasking her with emptying the water bottle we needed for this activity. Real life hack for moms (and all parents) right there!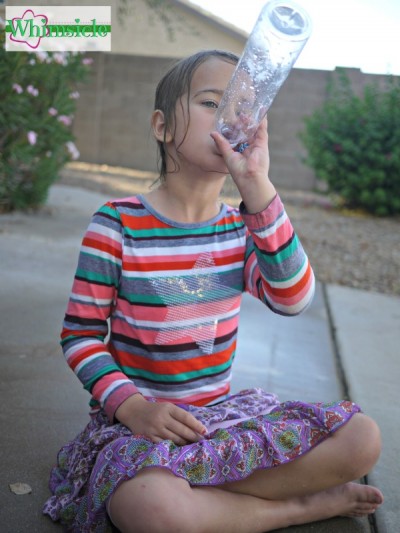
We also had a water fight where we sprayed each other with the garden hose before we began. That helped a lot with the heat. If you’re looking for an easy project that makes cool lava lamps, this it!
Make Your Own Lava Lamp Instructions
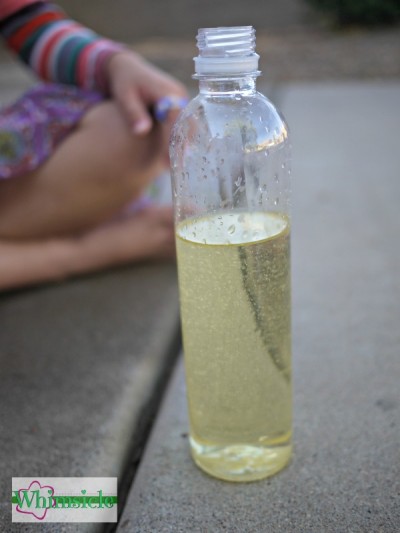
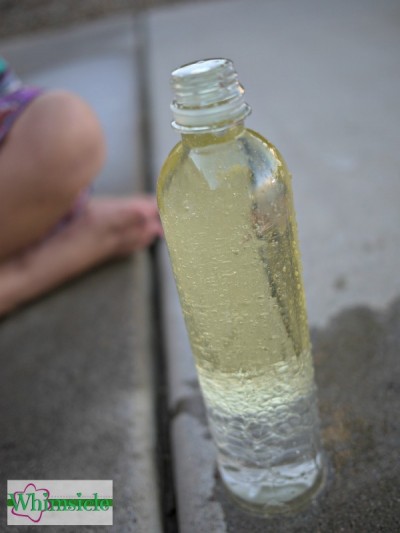
First, fill the empty water bottle about 2/3 full with vegetable oil.
Fill the rest with water, leaving a little of space at the top. Allow your child to do as much as possible on her own to help her gain confidence in tasks like this.
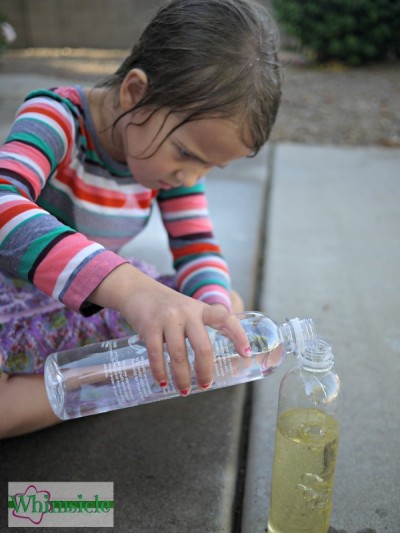
Notice that the water sinks below the vegetable oil. Oil and water just do not mix. The oil floats on the surface because the water is heavier (has a higher density) than oil.
Now, add the food coloring.
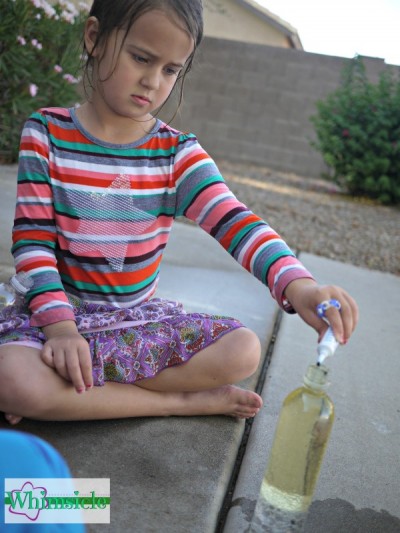
The food coloring will only mix with the water, not the oil. We stirred our concoction with a chop stick to mix the food coloring well with the water.
I don’t recommend shaking the mixture. This causes a lot of little bubbles to form in the oil, which makes the effect of the lava lamp less stellar.
Now for the magic…
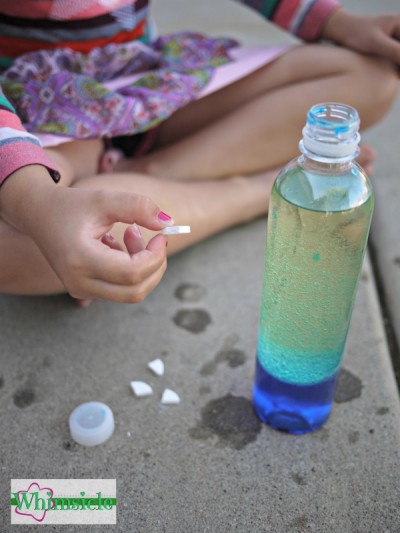
When you are ready for the fun, break an Alka-seltzer tablet into four pieces. Have your child drop in one piece at a time.
Have fun watching what happens! The best part is that your homemade lava lamp will work over and over again.
Not only will your child think they are cool lava lamps, but they are cheap lava lamps as well.
You can even screw on the little plastic cap and break it out a few days later for fun. All you need is more Alka-seltzer.
How lava lamps work
When you drop in the alka seltzer, it sinks to the bottom and starts dissolving. As it dissolves, it forms a gas which rises to the top and takes a little of the colored water with it. The gas bubble breaks on the surface and the colored water sinks back to the bottom.
Now I get to relive the nostalgia of lava lamps and share that same joy with my two kids. My six-year-old daughter asks me to do this activity again and again. Some day, she will astound her teachers with her knowledge of liquid density. That’s why people had these things in the 70’s… right?
And if you want more science activities for quality family time, I have 15 Very Simple Science Experiments for you.
What can I do now for more fun, quality time with my kids?
- Sign up to get No Guilt Mom emails. If you need someone to lift you up and empathize with you – while pushing to grow in all the best ways – welcome to No Guilt Mom. Plus, I send you a free gift when you sign up that will immediately reduce your stress.
- Enroll in Calm & Happy Parenting. Serious about changing the way your family communicates and deals with conflict? After taking our signature course, you’ll get more cooperation from your kids and WAY less pushback. Plus, you’ll create a strong family bond where your kids come to talk with you about issues instead of hiding them.
Recommended Posts

JoAnn Crohn
CEO/Founder at No Guilt Mom
- Why Productivity Hacks Aren’t the Answer (and What Actually Works for Moms)
- Signs of Mom Burnout: 3 Hidden Warning Signs and How to Recover
- Handling Sibling Fights – A Game-Changing Strategy for Parents
- Four Steps to Deal with your Tween’s Next Mood Swing
- How to Stop Yelling at Your Kids When Angry
- Moms: This is what happens when we constantly apologize
- Are My Kids Spoiled? 3 Signs of Entitled Behavior (and what you can do!)
- One Magic Phrase to Tell Your Kid When She is Scared
- One Powerful Tip to Help Siblings Get Along (Most parents do this wrong)
- 7 Facts You Didn’t Know About Recess [Infographic]
- I Don’t Know My Neighbors: 3 Ways to Introduce Yourself
- DIY Kid’s Car Activity Kit


I love discovery bottles! I made several recently. Some were old remakes & some were new. I did not add the Alka-seltzer. I am going to have to try it. Thanks so much for sharing! Cute kiddo!!!
Karen
All Smiles in Second Grade
I LOVE this!!!! I am incorporating quite a bit of STEM projects this year in my classroom and this would be awesome! Thanks for linking up:)
4th Grade Frolics
Aren’t they just fabulous? I did this with my summer academy kids last month. They loved it too. :o)
Sarah from Mrs. Jones Teaches
That’s pretty awesome!
Anisa @ Creative Undertakings
It was such a joy to stumble across your blog and learn of some fun and wholesome activities to do with my grandkids!! Thank you and I look forward to following your blog.
Thank you!! I look forward to getting to know you!